
How to Install Bamboo Flooring Like a Pro In 8 Steps
0Shares
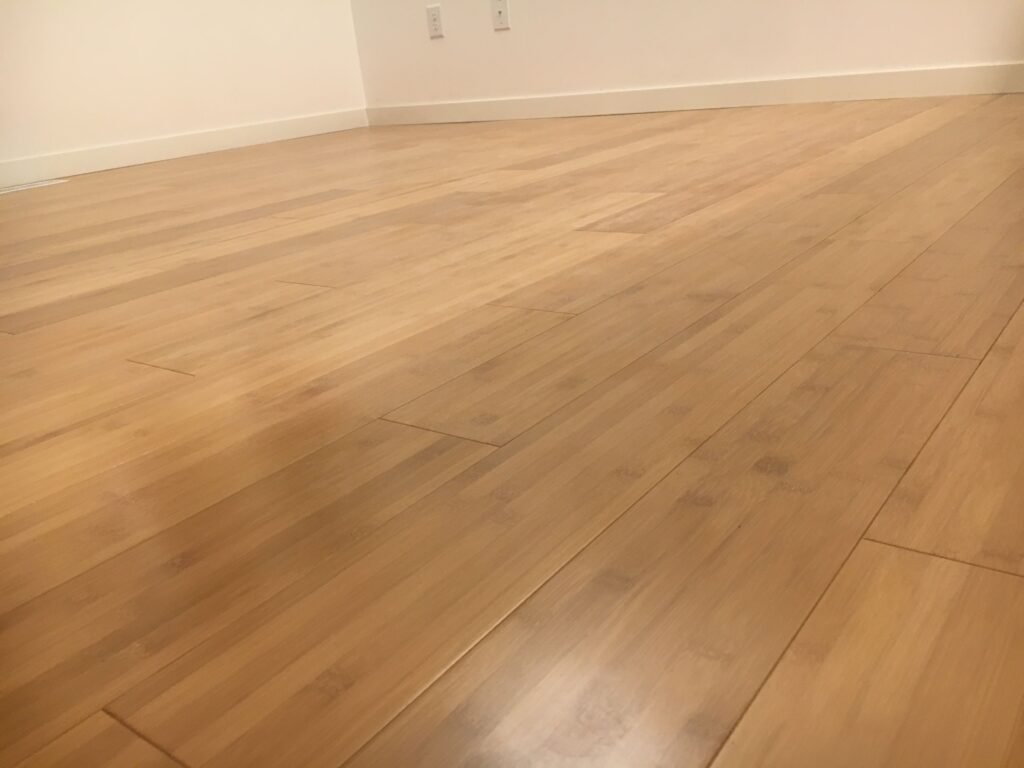
As a fellow homeowner, I understand the desire to give our living spaces a fresh and inviting look. One of the ways to achieve this is by choosing the right flooring material. Lately, I’ve been captivated by bamboo flooring. This eco-friendly, durable, and visually appealing option has caught the attention of many homeowners like you and me, and for good reason. But do you have any idea how to install bamboo flooring?
With its natural warmth and unique grain patterns, bamboo flooring gives any room a touch of sophistication and elegance. Moreover, it’s an excellent choice for those conscious about the environment, as bamboo is a highly renewable resource that grows much faster than traditional hardwoods. But, as with any home improvement project, proper installation is crucial to fully enjoy the benefits of bamboo flooring.
In this blog post, I’ll share my journey of installing bamboo flooring and offering a comprehensive guide to help you achieve professional results. From preparation and tools to installation, I’ll cover everything you need to know. So, let’s embark on this exciting DIY adventure together and transform our homes with beautiful bamboo flooring!
Preparing for Bamboo Flooring Installation
Before diving into the installation process, I’d like to emphasize the importance of proper preparation. In my experience, taking the time to acclimate the bamboo planks, prepare the subfloor, and plan the layout significantly impacted the final result. Let me walk you through each step, offering personal insights and examples.
✅Acclimating the Bamboo Planks
One vital step many people overlook is allowing the bamboo planks to acclimate to the room’s temperature and humidity. I can’t stress enough how crucial this is! When I first installed bamboo flooring in my living room, I skipped this step, which led to warping and gaps between the planks.
Avoid such issues by letting the bamboo planks sit in the room where they’ll be installed for at least 72 hours. It will help them adjust to the environment and prevent any unwanted surprises later on. Remember, patience pays off!
✅Preparing the Subfloor
A well-prepared subfloor is key to a smooth installation and a long-lasting bamboo floor. While working on my bedroom floor, I discovered an uneven area that would have caused problems if left unaddressed. So, take the time to inspect your subfloor carefully.
Start by removing existing flooring materials, such as carpet, laminate, or tile. Then, clean the subfloor thoroughly, ensuring it’s free of debris. Check for any damages or uneven spots, and repair them as needed. A level subfloor ensures the bamboo flooring will lay flat and securely, providing a solid foundation for your beautiful new floor.
✅Measuring and Planning the Layout
Proper measuring and planning are essential for achieving a visually appealing and structurally sound bamboo floor. For instance, when installing the flooring in my dining room, I realized that carefully planning the layout could make the space appear larger and more inviting.
Start by measuring the room to calculate the total square footage. Make sure to add 5-10% extra for cutting waste and future repairs. Next, consider the direction of light and the room’s shape when planning the layout of the bamboo planks. Laying the planks parallel to the longest wall created a more harmonious and spacious appearance.
Don’t forget to think about how the flooring will flow from one room to another, especially if installing it in multiple rooms or across an open floor plan.
Prepare All Necessary Tools and Materials
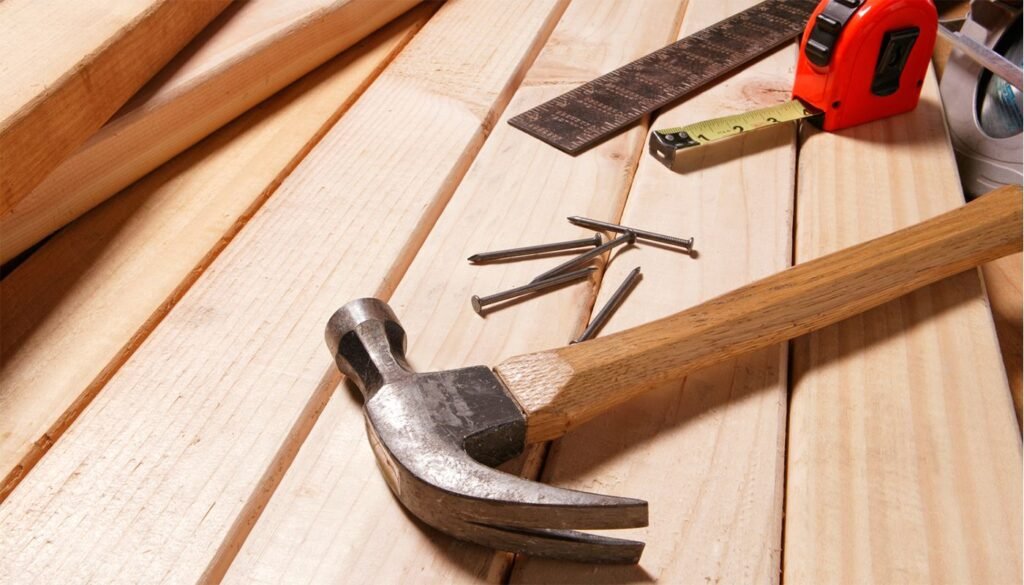
Before diving into the step-by-step installation process, gathering all the necessary tools and materials is essential. When I first started my bamboo flooring project, I realized that having the right tools on hand made the installation smoother and significantly improved the final result.
📍Bamboo Flooring Planks
Of course, the most critical material you’ll need is the bamboo flooring itself. Be sure to purchase enough planks to cover the entire area, plus an additional 5-10% for cutting waste and future repairs. Choose the style, color, and finish that best suit your taste and the room’s décor.
📍Underlayment (Moisture Barrier)
Underlayment is a thin layer of material that goes between the subfloor and the bamboo planks. It serves as a moisture barrier, preventing potential damage from moisture seeping up from the subfloor. Additionally, the underlayment provides cushioning, sound absorption, and insulation.
📍Flooring Spacers
Flooring spacers are small plastic or wooden pieces that maintain a consistent gap between the bamboo planks and the walls. This gap allows for the natural expansion and contraction of the flooring due to changes in temperature and humidity.
📍Measuring Tape
A measuring tape is essential for accurately measuring the room, calculating the total square footage, and planning the layout. It’s also crucial for measuring and marking the planks before cutting them to size.
📍Table Saw or Circular Saw
A table or circular saw is necessary for making straight cuts on bamboo planks. I found the circular saw more versatile and portable, but a table saw can also provide precise cuts if you’re comfortable using one.
📍Miter Saw
A miter saw makes precise angled cuts, especially for cutting the planks to size at the end of each row or fitting around obstacles. It’s a handy tool that ensures clean, professional-looking cuts.
📍Jigsaw or Coping Saw
A jigsaw or coping saw is essential for making intricate cuts around obstacles, such as door frames, vents, or pipes. I found the jigsaw more efficient and easier to handle for these cuts.
📍Tapping Block
A tapping block is a small piece of wood or plastic used with a rubber mallet to gently tap the bamboo planks together, ensuring a tight fit without damaging the planks.
📍Rubber Mallet
A rubber mallet is used along with the tapping block to connect the bamboo planks securely. Its soft surface prevents damage to the flooring while providing enough force to create a snug fit.
📍Pry Bar
A pry bar is a versatile tool used for multiple purposes during installation, such as removing existing flooring materials, lifting the planks to make adjustments, or fitting the last row of planks into place.
📍Carpenter’s Square
A carpenter’s square helps check the bamboo planks’ alignment and ensure they’re square to the walls. This tool is particularly useful when starting the first row of planks.
📍Chalk Line
A chalk line marks straight lines on the subfloor, guiding the placement of the bamboo planks. It ensures even rows and a professional-looking installation.
📍Safety Goggles and Gloves
Your safety should always be a priority. Wearing safety goggles and gloves will protect your eyes from flying debris and your hands from potential injuries while cutting and handling the bamboo planks.
📍Knee Pads
Trust me. Your knees will thank you for investing in knee pads. They provide much-needed cushioning and support while working on the floor for extended periods.
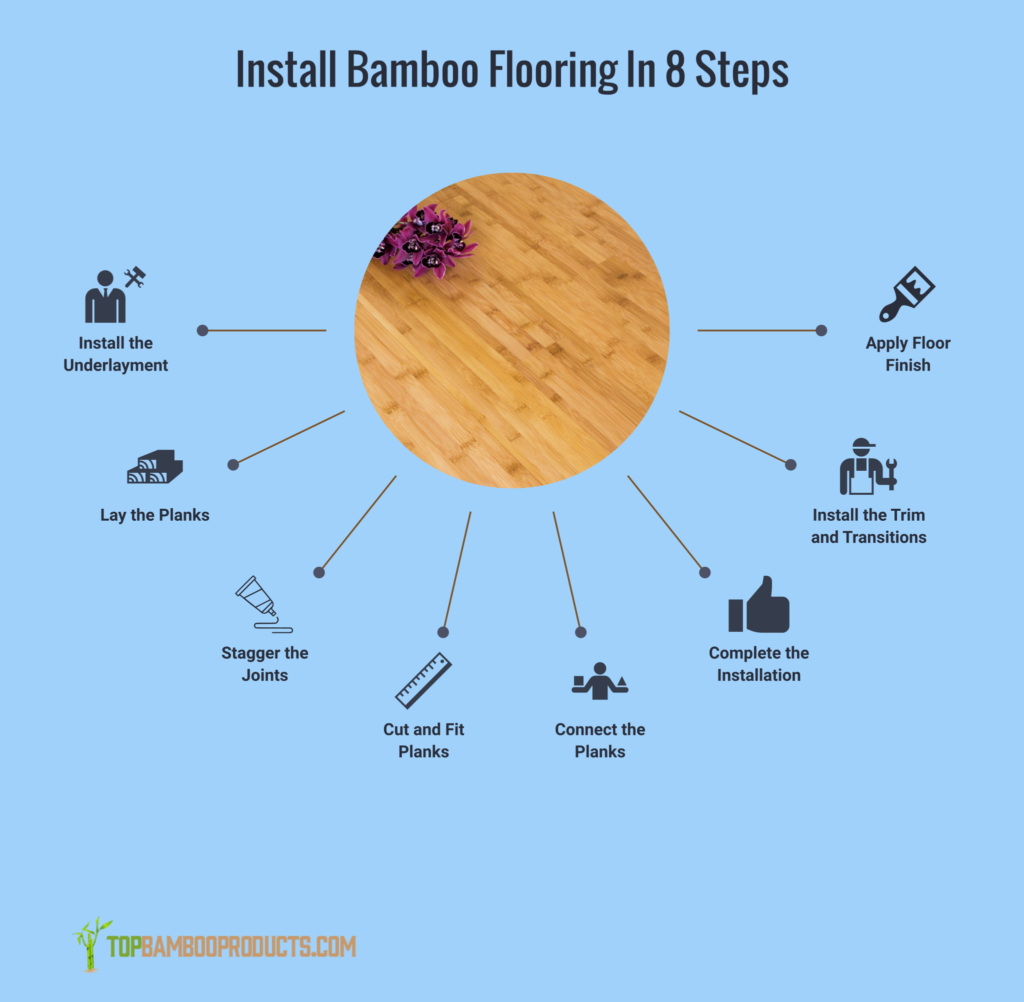
How to Install Bamboo Flooring: Step-by-Step Process
The installation cost of high-quality bamboo flooring typically depends on the size and complexity of the job, as well as the labor costs. However, installing bamboo flooring yourself is a great way to save money and get an impressive result!
Now that we’ve covered the importance of preparation and gathered all the necessary tools and materials, it’s time to dive into this installation guide.
1️⃣Installing the Underlayment
The first step in the installation process is to roll out the underlayment. It serves as a moisture barrier, protecting your bamboo flooring from potential damage caused by moisture seeping up from the subfloor. It also provides cushioning, sound absorption, and insulation.
Starting from one corner of the room, unroll the underlayment and work across the floor. Be sure to overlap the seams by at least 6 inches and secure them with tape. When installing the underlayment in my bedroom, I found it helpful to trim any excess material around the edges, ensuring a snug fit against the walls.
2️⃣Laying the Planks
With the underlayment, it’s time to start laying the bamboo planks. Begin in the corner of the room, leaving a ¼-inch expansion gap between the planks and the wall. This gap allows for the natural expansion and contraction of the flooring due to changes in temperature and humidity. Use flooring spacers to maintain this gap consistently throughout the installation process.
Lay the first row of planks with the tongue side facing the wall. It ensures a secure fit as you connect the subsequent rows of planks. As you lay each plank, ensure they’re properly aligned and square to the walls. I found using a carpenter’s square helpful for maintaining accuracy and alignment.
Stagger the joints by at least 6 inches when starting a new row. It creates a more visually appealing and structurally stable floor. I experimented with different staggering patterns to find the one that looked best in my space. Continue laying the planks, row by row, following your planned layout and ensuring a snug fit between each plank.
3️⃣Staggering the Joints
Staggering the joints is essential to achieving a visually appealing and structurally sound bamboo floor. It means that the end joints of adjacent rows should not align with each other, creating a more random and natural appearance. The general rule of thumb is to stagger the joints by at least 6 inches.
While working on my living room floor, I experimented with different staggering patterns to find the one that best suited the space. Some popular options include a random pattern, where the joints are staggered irregularly, or a more uniform pattern, such as a brick layout or herringbone design. Remember that some patterns may require more cutting and planning, but they can create a stunning visual impact.
By staggering the joints, not only will you achieve a more aesthetically pleasing floor, but you’ll also improve its stability and strength. Properly staggered joints distribute weight more evenly across the floor, making it less prone to issues like buckling or separation.
4️⃣Cutting and Fitting Planks
As you progress with your bamboo flooring installation, you’ll inevitably need to cut and fit the planks around obstacles, such as door frames, vents, or pipes, and at the end of each row. Accurate measuring and precise cuts are crucial for achieving a professional-looking finish.
When I reached the end of a row or encountered an obstacle, I carefully measured and marked the plank before making the necessary cuts. I used a circular saw for straight cuts, ensuring a clean and accurate edge. I found a jigsaw to be the most efficient and easy-to-handle tool for more intricate cuts, such as those required around door frames or curved edges.
Remember to always wear safety goggles and gloves while cutting to protect yourself from potential injuries. Once you’ve made the necessary cuts, gently tap the planks together using a tapping block and rubber mallet to ensure a snug fit without gaps.
5️⃣Connecting the Planks
Properly connecting the bamboo planks ensures a stable and gap-free floor. Depending on your chosen bamboo flooring, the planks may be connected using a click-lock system, tongue-and-groove, or glue-down method.
I used a click-lock system for my project, making connecting the planks quick and easy. To connect the planks, simply align the tongue of one plank with the groove of the adjacent plank at an angle and gently press down until they click into place. Use a tapping block and rubber mallet to tap the planks together, ensuring a tight fit without damaging the planks.
If you’re working with tongue-and-groove planks, apply a suitable flooring adhesive to the groove before connecting the planks. For glue-down installations, spread the adhesive evenly on the subfloor before laying the planks.
Regardless of the connection method, always check for proper alignment and snug connections as you install.
6️⃣Completing the Installation
Once you’ve successfully laid and connected all the bamboo planks, it’s time to wrap up your project by removing the spacers and cleaning up any debris or dust. Walk around the room carefully, inspecting the floor for any gaps, misalignments, or other issues you must address.
When I completed my bamboo flooring installation, I took the time to vacuum the entire floor to remove any sawdust or small particles that could scratch the surface. Then, I wiped the floor with a slightly damp cloth to remove any remaining residue, making sure not to soak the floor.
7️⃣Installing Trim and Transitions
Installing trim and transitions is the final touch to your beautiful new bamboo floor. Trim, such as baseboards or quarter-round molding, covers the expansion gap between the flooring and the walls, providing a polished and professional finish.
To install the trim, measure and cut the pieces to fit the length of each wall. Attach the trim to the wall using a nail gun or adhesive, making sure not to nail it to the bamboo flooring itself, as this could prevent natural expansion and contraction.
Transitions, such as T-moldings or reducers, bridge the gap between your bamboo floor and other flooring materials or cover expansion gaps in doorways. Measure and cut the transition pieces to fit, then attach them using adhesive or the recommended fasteners.
8️⃣Apply Floor Finish to Complete the Job
Installing trim and transitions is the final touch to your beautiful new bamboo floor. Trim, such as baseboards or quarter-round molding, covers the expansion gap between the flooring and the walls, providing a polished and professional finish.
To install the trim, measure and cut the pieces to fit the length of each wall. Attach the trim to the wall using a nail gun or adhesive, making sure not to nail it to the bamboo flooring itself, as this could prevent natural expansion and contraction.
Transitions, such as T-moldings or reducers, bridge the gap between your bamboo floor and other flooring materials or cover expansion gaps in doorways. Measure and cut the transition pieces to fit, then attach them using adhesive or the recommended fasteners.
Frequently Asked Questions
Q: Is it Smart to install bamboo flooring over concrete?
A: The good news is, you can absolutely install bamboo flooring over concrete! While many homeowners may think concrete is a dealbreaker, bamboo flooring offers a versatile, durable solution that’s perfect for your home.
Whether renovating your basement or updating your living room, using some preparation and tools, bamboo flooring over concrete is possible. With its eco-friendliness, affordability, and easy maintenance, you can enjoy the beauty and benefits of bamboo flooring without any concrete obstacles standing in your way.
Q: Can I add bamboo flooring in a bathroom or laundry room?
A: Bamboo may seem like the perfect choice if you’re looking for an eco-friendly flooring option that adds a touch of nature to your bathroom or laundry room. But can bamboo flooring withstand the moisture and humidity of these spaces? The answer is yes, with some precautions. You’ll want to ensure that the bamboo flooring you choose is specifically designed for use in bathrooms and laundry rooms, as it will be better equipped to handle exposure to moisture.
Additionally, it’s important to keep the room well-ventilated and to quickly address any spills or leaks to prevent moisture buildup. With these considerations in mind, installing bamboo flooring in your bathroom or laundry room can result in a stylish and sustainable upgrade to your space.
Q: How do I clean and maintain my bamboo floors?
A: I was thrilled with their natural beauty and durability when I first installed my bamboo wood flooring. But I quickly realized that proper cleaning and maintenance were essential to keep them looking their best. You can start by regularly sweeping or vacuuming your floors to remove dirt and debris. Avoid excessive water when cleaning your bamboo floors, as moisture can cause warping or damage.
Instead, you can use a damp mop and a pH-neutral cleaner safe for use on bamboo floors. Additionally, be mindful of scratches and marks, and use rugs or furniture pads to protect your floors. Your bamboo floors can stay in excellent condition with a little care and attention.
Final Thoughts
Installing bamboo wood flooring is a rewarding and transformative DIY project that can significantly elevate the look and feel of your living space. As someone who has gone through the process, I can attest to the immense satisfaction and sense of accomplishment that comes from seeing the result of your hard work. By carefully following each step – from proper preparation and gathering the necessary tools and materials to the installation process and applying a protective finish – you’ll achieve a stunning and durable floor that adds warmth, character, and value to your home.
Remember, patience and attention to detail are key when undertaking this project, and by taking the time to do things right, you’ll be rewarded with a beautiful bamboo floor that you can be proud of for years to come. Feel free to comment if you have questions or tips about installing bamboo flooring.
0Shares
